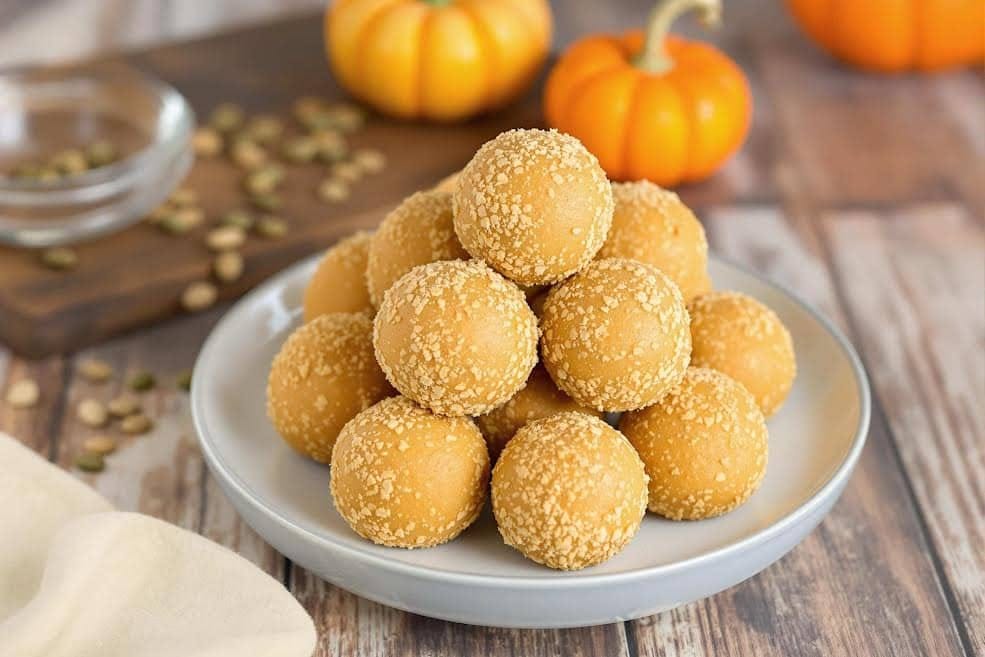
No-bake pumpkin cheesecake balls are tiny, yummy desserts that are super easy to make. You don’t need to bake them, which makes them perfect for when you want a treat quickly. These cheesecake balls are creamy, sweet, and full of pumpkin and spice warm, cozy flavors. Think of them as little bites of pumpkin cheesecake rolled into fun, snack-sized treats. Doesn’t that sound delicious?
Table of contents
Why Are No-Bake Desserts So Popular?
Let’s be honest—nobody likes waiting for the oven! That’s why no-bake desserts are such a hit. Here’s why everyone loves them:
- They’re quick: You can make these in no time without turning on the oven.
- They’re easy: No baking skills are needed, so anyone can do it.
- They’re fun: You get to roll the mixture into little balls, which is super fun, especially for kids.
- They’re cool: Since no baking is involved, it’s a great recipe for hot days or when you don’t feel like cooking much.
How Do These Treats Bring Fall Flavors to Life?
When you think of fall, what comes to mind? Maybe pumpkins, cinnamon, and nutmeg? Well, these cheesecake balls capture all those cozy flavors! They’re made with real pumpkin puree and spices like cinnamon and pumpkin spice, which make them taste like fall in every bite. Whether it’s Halloween, Thanksgiving, or just a regular chilly day, these treats will get you in the fall spirit.
What Ingredients Do You Need?

These pumpkin cheesecake balls use simple ingredients you might already have at home. Let’s talk about the most important ones:
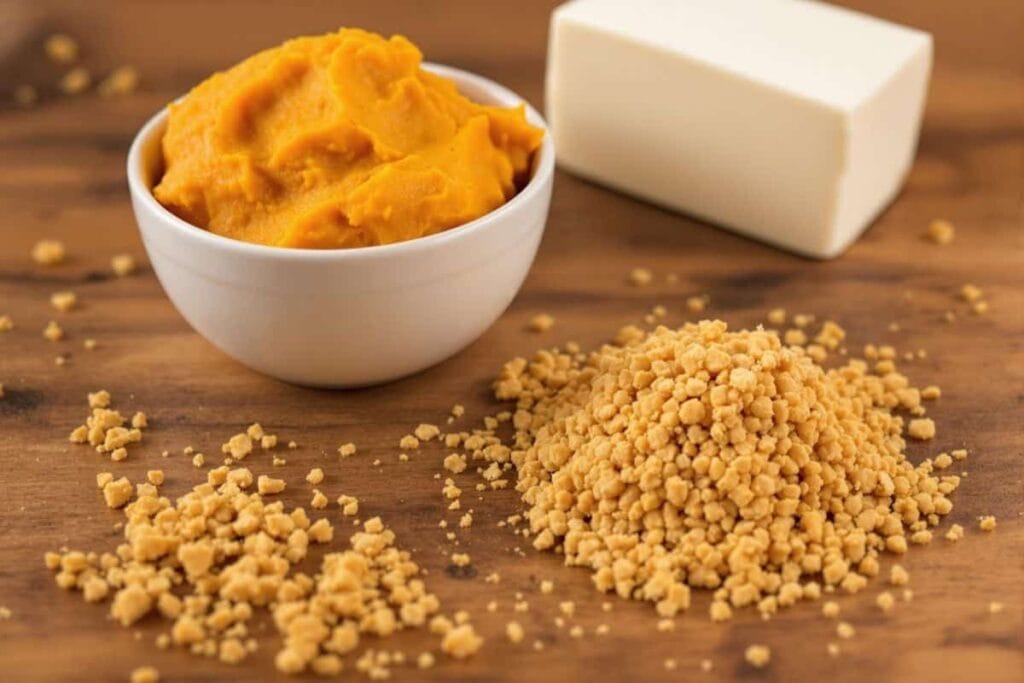
1. Pumpkin Puree
This is what gives the cheesecake balls their pumpkin flavor. Make sure you use pumpkin puree and not pumpkin pie filling, because pie filling already has sugar and spices added to it.
2. Cream Cheese
Cream cheese makes the cheesecake balls soft and creamy, just like a regular cheesecake. You’ll need to use softened cream cheese so it’s easier to mix.
3. Graham Crackers
Crushed graham crackers are used to make the mixture thick and add a bit of crunch. If you can’t eat regular graham crackers, don’t worry—you can use gluten-free ones or even crushed cookies instead.
What Makes These Cheesecake Balls Sweet?
To make your cheesecake balls taste just right, you’ll need to add something sweet. Here are a few options:
- Powdered Sugar: It mixes smoothly and gives a classic sweetness.
- Honey: This adds a natural sweetness and makes the balls taste extra rich.
- Maple Syrup: If you love fall flavors, maple syrup is a perfect choice.
You can pick the one you like the most or use a mix of them!
What Spices Make Them Taste Like Fall?
Spices are the magic behind the warm, cozy flavor of these cheesecake balls. Here are the ones you’ll need:
- Cinnamon: It’s warm and sweet-smelling—perfect for fall.
- Nutmeg: Adds a little nutty, spicy kick.
- Pumpkin Spice: A mix of cinnamon, nutmeg, ginger, and cloves that screams “fall dessert!”
When you mix these spices with pumpkin, it creates a flavor that’s hard to resist.
How Can You Make Them Look Fancy?
After rolling the cheesecake balls, you can make them look even more special by adding a coating. Here are some fun ideas:
- White Chocolate: Dip the balls in melted white chocolate for a sweet, creamy shell.
- Crushed Nuts: Roll them in finely chopped nuts for a crunchy texture.
- Shredded Coconut: Add a tropical twist by rolling them in coconut.
- Sprinkles: Use colorful sprinkles to make them extra festive, especially for parties.
Adding these coatings is like putting the finishing touches on your dessert!
Why Does Quality Matter?
To make the best pumpkin cheesecake balls, it’s important to use good-quality ingredients. Fresh cream cheese and pure pumpkin puree make a huge difference in taste. Also, using fragrant spices will give your dessert that amazing fall aroma. If you want to go the extra mile, try using organic or locally sourced ingredients for even better flavor.
What Tools Do You Need?
You don’t need fancy equipment to make these cheesecake balls. Just a few simple tools will do:
- Mixing Bowl: For mixing all your ingredients.
- Spoon or Spatula: To stir the mixture and scoop it out.
- Baking Sheet: To hold the balls while they chill.
- Parchment Paper: To keep the balls from sticking to the sheet.
That’s it! With just these tools, you’re ready to make your dessert.
How Should You Prepare the Ingredients?
Before you start mixing, make sure your cream cheese is softened. This means letting it sit at room temperature for about 30 minutes. This will make it much easier to stir everything together. Also, crush your graham crackers into fine crumbs. You can do this with a food processor or by putting them in a zip-top bag and rolling over them with a rolling pin. Once you’ve prepped everything, you’re all set to start making your cheesecake balls!
How to Make No-Bake Pumpkin Cheesecake Balls
Now that you know what ingredients you’ll need and how to prepare, it’s time to make these yummy no-bake pumpkin cheesecake balls. Follow these easy steps, and you’ll have delicious treats in no time!

Step 1: Mix the Cream Cheese and Pumpkin
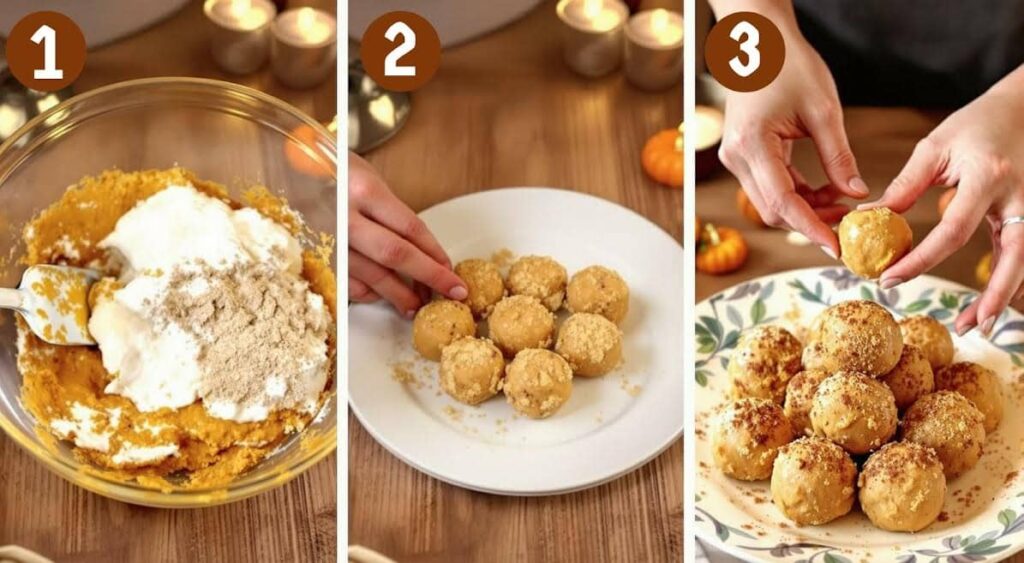
Start by putting the softened cream cheese and pumpkin puree into a large mixing bowl. Using a spoon or spatula, stir them together until the mixture is smooth and creamy. This step is important because it forms the base of your cheesecake balls. Make sure there are no lumps of cream cheese left—mix until everything looks even.
Tip: If you want to save time, you can use a hand mixer to blend the ingredients faster.
Step 2: Add Sweeteners and Spices
Next, it’s time to add flavor to the mixture. Depending on your choice of sweetener, add powdered sugar, honey, or maple syrup to the bowl. Then sprinkle in your spices—cinnamon, nutmeg, and pumpkin spice. Stir everything well, so the sweetness and spices are spread evenly.
This is the step where the mixture starts to smell like fall! Take a moment to enjoy the warm, cozy aroma as you mix.
Step 3: Add Crushed Graham Crackers for Texture
Now it’s time to add the crushed graham crackers. Slowly sprinkle them into the bowl while stirring. The graham crackers will thicken the mixture and give it a nice texture. Keep mixing until everything comes together into a dough-like consistency.
If the mixture feels too soft or sticky, you can add a little more graham cracker crumbs until it’s easy to handle. You’re looking for a texture that holds its shape when rolled into a ball.
Step 4: Chill the Mixture
Before shaping the balls, you’ll need to chill the mixture. Place the bowl in the refrigerator for at least 30 minutes. This step makes the dough firmer, so it’s easier to roll.
While you wait, you can prepare any coatings you want to use, like melted chocolate, crushed nuts, or shredded coconut.
Step 5: Roll the mixture into Balls
Once the mixture is chilled, take it out of the fridge. Scoop small portions (about 1 tablespoon each) and roll them between your hands to form smooth balls. Place each ball onto a baking sheet lined with parchment paper.
This step is fun and easy—great for kids to help with!
Step 6: Add Coatings for Extra Flavor and Style
Now comes the creative part! You can roll or dip the cheesecake balls into a variety of coatings. Here are some ideas:
- White Chocolate: Melt the chocolate, then dip each ball to coat it. Place the coated balls back on the parchment paper to set.
- Crushed Nuts: Roll the balls in finely chopped pecans, walnuts, or almonds for a crunchy finish.
- Shredded Coconut: Sprinkle or roll the balls in coconut for a light, sweet coating.
- Sprinkles: Use colorful sprinkles to add a fun, festive touch.
Let the coated balls sit for about 10 minutes to allow any coatings to set properly.
Creative Variations for Pumpkin Cheesecake Balls
The best part about this recipe is how easy it is to customize! Here are some fun variations you can try:
1. Vegan or Dairy-Free Cheesecake Balls
- Use dairy-free cream cheese and substitute honey or powdered sugar with maple syrup or agave for a vegan-friendly option.
2. Gluten-Free Cheesecake Balls
- Swap regular graham crackers for gluten-free crackers or cookies.
3. Extra Crunch with Add-Ins
- Mix in chopped pecans, chocolate chips, or dried cranberries for added texture and flavor.
4. Flavor Boost
- Add a teaspoon of maple extract or vanilla extract to the mixture for an extra layer of flavor.
Serving Ideas for No-Bake Pumpkin Cheesecake Balls

These cheesecake balls are great for any occasion. Here’s how you can serve them:
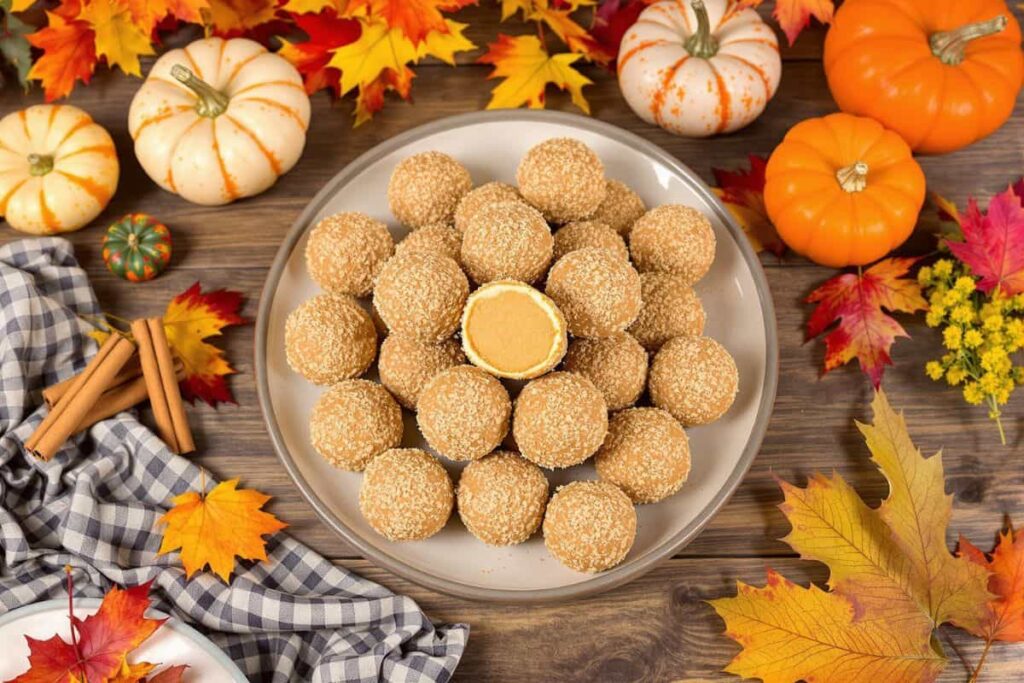
- Festive Party Tray: Arrange them on a platter with fall decorations like mini pumpkins or leaves.
- Paired with Drinks: Serve with a warm drink like coffee, hot chocolate, or apple cider for the ultimate cozy treat.
- As a Gift: Pack them in a decorative box or tin and give them as a thoughtful homemade gift.
Storing, Freezing, and Extra Tips for No-Bake Pumpkin Cheesecake Balls
Now that your delicious no-bake pumpkin cheesecake balls are ready, it’s time to learn how to store them properly, enjoy their health benefits, and discover even more fun facts about these fall treats.
How to Store Pumpkin Cheesecake Balls in the Refrigerator
Storing your cheesecake balls correctly ensures they stay fresh and tasty. Follow these easy steps:
- Place the cheesecake balls in an airtight container. This keeps them from drying out and absorbing odors from other foods.
- Store them in the refrigerator for up to 5–7 days.
- If you’ve used coatings like chocolate or coconut, make sure the balls are fully set before stacking them in the container. You can layer them with parchment paper to prevent sticking.
Freezing for Long-Term Storage
If you’ve made a big batch and want to save some for later, freezing is a great option. Here’s how:
- Arrange the cheesecake balls in a single layer on a baking sheet lined with parchment paper.
- Place the baking sheet in the freezer for about 1–2 hours or until the balls are firm.
- Transfer the frozen balls to a freezer-safe bag or container. Label it with the date so you know how long they’ve been stored.
- Frozen cheesecake balls can last up to 3 months.
When you’re ready to enjoy them, let them thaw in the refrigerator for a few hours. They’ll taste just as delicious as when you first made them!
Reheating or Serving Frozen Balls
These cheesecake balls don’t require reheating, but if you want to serve them straight from the freezer as a chilled treat, here are some tips:
- Let the balls sit at room temperature for 10–15 minutes before serving.
- For a firmer texture, enjoy them semi-frozen, like an ice cream treat.
Health Benefits of Pumpkin in Desserts
Pumpkin isn’t just tasty—it’s also packed with nutrients that make these cheesecake balls a healthier dessert option. Here are some benefits of using pumpkin in your recipe:
- Rich in Vitamins: Pumpkin is high in Vitamin A, which is great for your eyesight and immune system.
- Low in Calories: It’s naturally low in calories, so you can enjoy these treats without feeling guilty.
- High in Fiber: The fiber in pumpkin can help with digestion and keep you feeling full longer.
- Packed with Antioxidants: Pumpkin contains beta-carotene, an antioxidant that helps fight free radicals in the body.
By using pumpkin in your desserts, you’re getting a sweet treat that also offers some great health perks.
Adjusting Sweeteners for a Low-Sugar Version
If you’re looking to reduce the sugar content in this recipe, here are some easy swaps:
- Use low-sugar graham crackers or cookies.
- Substitute powdered sugar with stevia or another low-calorie sweetener.
- Reduce the amount of honey or maple syrup in the recipe and rely on the natural sweetness of the pumpkin and spices.
These changes can help you enjoy a lighter version of the cheesecake balls without losing the delicious flavor.
Why Are No-Bake Desserts So Popular?
No-bake desserts like these pumpkin cheesecake balls are loved around the world, and for good reason:
- They Save Time: No need to wait for baking or cooling.
- Perfect for Parties: They’re easy to make in large batches and look great on dessert tables.
- Kid-Friendly: Kids love helping out with rolling and decorating the balls.
- Great for All Seasons: While these are perfect for fall, you can adapt the flavors for any season.
FAQs About Pumpkin Cheesecake Balls
1. How do I prevent the mixture from being too sticky?
If the mixture feels sticky, add more crushed graham crackers a little at a time until it firms up.
2. Can I make these ahead of time for a party?
Yes! You can make them a day or two in advance and store them in the fridge until you’re ready to serve.
3. What should I do if my balls are crumbling?
This usually happens if there aren’t enough wet ingredients. Add a bit more pumpkin puree or cream cheese to fix it.
4. Can I use canned pumpkin pie filling instead of pumpkin puree?
Pumpkin pie filling already has sugar and spices added, so it might make the mixture too sweet. Stick with pure pumpkin puree for the best results.
5. Can I make these without cream cheese?
For a dairy-free version, you can use a vegan cream cheese alternative or coconut cream.
6. How do I make the coating stick better?
Make sure the balls are slightly chilled before rolling them in the coating. This helps the coating stick evenly.
7. What if I don’t have graham crackers?
You can substitute graham crackers with crushed cookies, digestive biscuits, or even oats for a different texture.
8. Are these safe for kids to eat?
Absolutely! These no-bake cheesecake balls are kid-friendly and easy to customize with fun coatings like sprinkles.
9. Can I use dark chocolate instead of white chocolate?
Yes! Dark chocolate works just as well and adds a richer flavor.
10. How do I serve these for a special occasion?
Arrange them on a pretty platter, drizzle with melted chocolate, and add festive decorations like edible glitter or seasonal sprinkles.
Bringing It All Together
No-bake pumpkin cheesecake balls are the perfect combination of flavor, convenience, and creativity. Whether you’re whipping up a batch for a fall gathering, making a quick treat for your family, or prepping a freezer-friendly dessert, these cheesecake balls are guaranteed to impress. With simple ingredients, endless variations, and easy storage, they’ll quickly become one of your favorite go-to desserts.
Enjoy every creamy, spiced bite—and don’t forget to share them with your loved ones! 🎃🍂
